


As an Amazon Associate I earn from qualifying purchases.
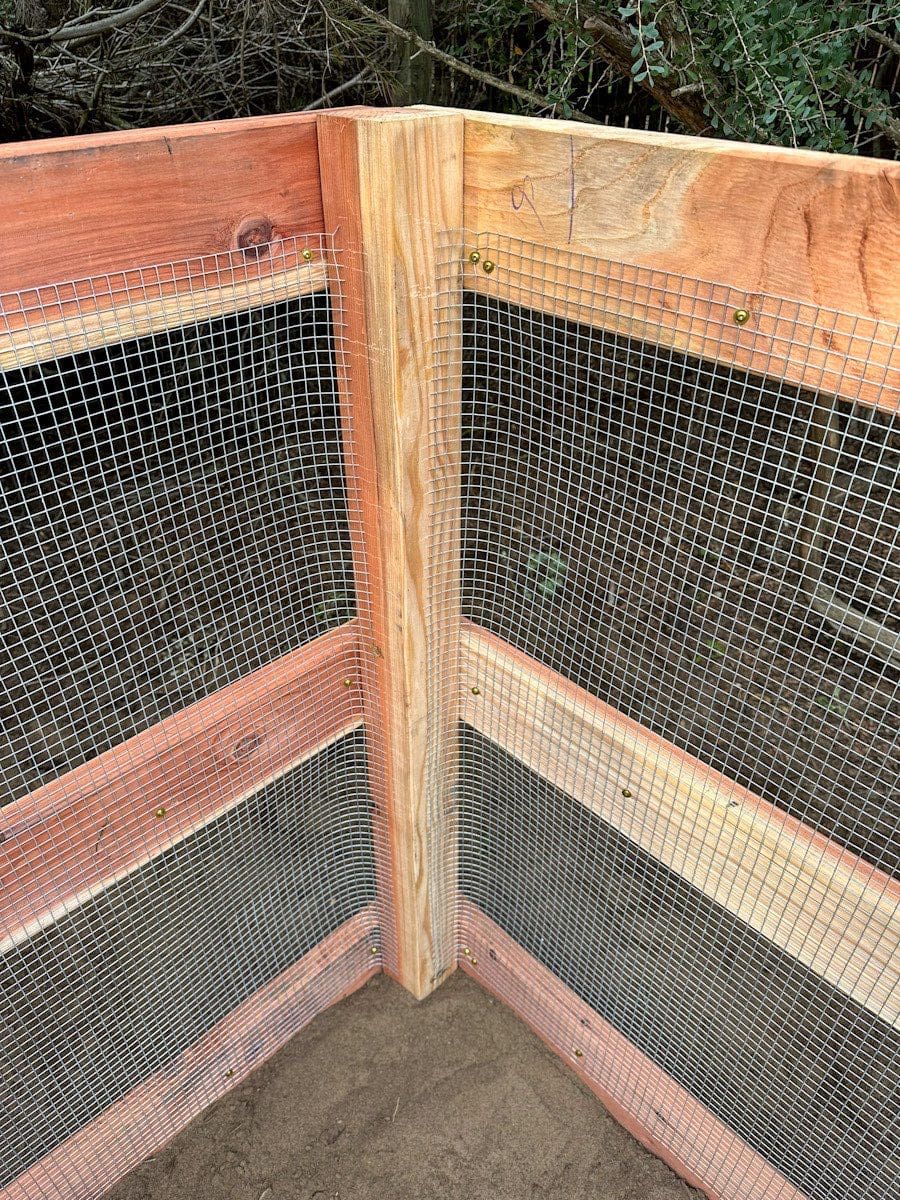
To attach hardware cloth, use screws and fender washers for the bottom portion of the structure. You can also use staples to maintain a flat surface for mounting trim.
Attaching hardware cloth properly is essential for the durability and strength of the structure. There are various methods to attach hardware cloth to wood, metal posts, and to the ground, each requiring specific tools and techniques. By following the correct installation process, you can effectively secure the hardware cloth and protect the enclosed area from pests and predators.
Whether you are building a chicken coop or protecting your garden, knowing how to properly attach hardware cloth is crucial for the success of your project, ensuring safety and security.

Credit: homesteadandchill.com
Understanding Hardware Cloth
Understanding hardware cloth is essential when it comes to DIY projects. This versatile material is primarily used as a protective barrier for various applications, including gardens, poultry enclosures, and construction projects.
Hardware cloth is a type of mesh wire that is made of woven metal and is available in different gauges and mesh sizes. Its durability and strength make it suitable for exclusion and containment purposes.
When it comes to attaching hardware cloth, it’s crucial to use the right fasteners such as staples, screws, or u bolts depending on the surface and material to ensure a secure installation.
Know about Tack Cloth
Choosing The Right Materials
Choosing the right materials for attaching hardware cloth is essential for a successful installation. When it comes to selecting the appropriate hardware cloth gauge, it is important to consider the intended use and durability requirements. The gauge, or thickness, of the cloth will determine its strength and effectiveness. Thicker gauges such as 19 or 20 are ideal for applications where strength is crucial, such as protecting against larger animals or predators. For general-purpose applications, gauges 22 to 24 are often suitable. In addition to gauge, determining the ideal hardware cloth width is also important. It should be wide enough to cover the intended area without any gaps but not too wide to make installation difficult. Overall, selecting the right materials, including gauge and width, will ensure a secure and effective attachment of hardware cloth.
Preparation And Safety Measures
When attaching hardware cloth, it is important to take preparation and safety measures. One of the first steps is gathering the necessary tools and equipment. These may include screws, washers, fender washers, staples, or u bolts depending on the project and the surface you are attaching the hardware cloth to.
Ensuring safety while handling the hardware cloth is crucial. Always wear protective gloves and safety goggles to avoid any injuries. It is also recommended to work in a well-ventilated area to prevent inhaling any dust or particles.
When attaching hardware cloth to a wood frame, you can use a narrow crown stapler to efficiently secure it. The staples should be inserted at an angle to provide a strong hold.
If you are attaching hardware cloth to a deck, foundation, or shed, you can use screws and fender washers to properly affix it to the bottom portion. Staples can also be used to keep a flat surface for mounting trim.
When attaching hardware cloth on metal posts, a mixture of u bolts and galvanized wire can be used.
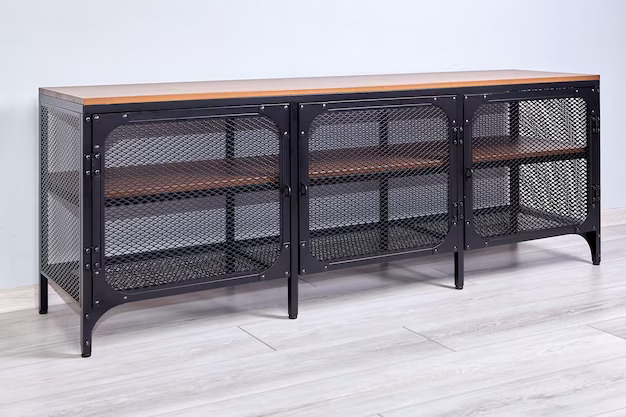
Credit: cawire.com
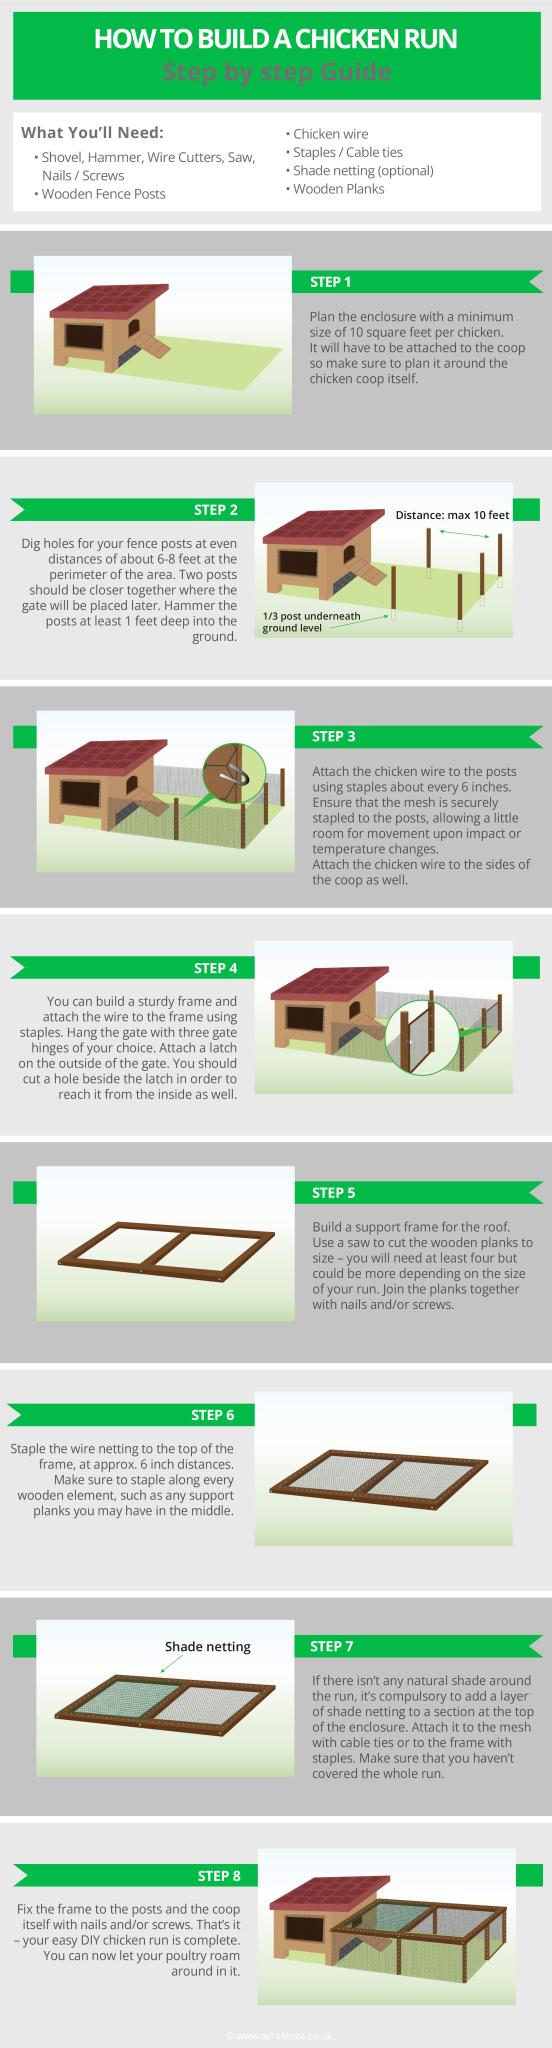
Step-by-step Guide To Attaching Hardware Cloth
Attaching hardware cloth involves two primary steps: preparing the surface for attachment and utilizing effective techniques for securing the cloth. To prepare the surface, use screws and fender washers to affix the hardware cloth to the bottom portion of your deck, foundation, or shed. If installing the cloth on trim, staples can be used to keep a flat surface for mounting the trim. For securing the hardware cloth, using a narrow crown stapler is a quick and efficient method. Insert the staples into the wood at an angle to provide a strong hold and prevent the cloth from pulling away. Alternatively, u bolts and galvanized wire can be used for metal posts. Following these steps ensures a secure and long-lasting attachment of hardware cloth.
Common Mistakes And Troubleshooting
For successful hardware cloth attachment, avoid these common mistakes: not using the appropriate fasteners, improperly aligning the cloth, and using the wrong tools. Troubleshoot by carefully selecting the right staples or screws, ensuring a secure fit to prevent sagging or gaps.
| Common Mistakes and Troubleshooting |
| Identifying Errors in Attachment |
| Effective Solutions for Attachment Issues |
|
Attaching hardware cloth to various surfaces can be a challenging task, but identifying and avoiding common mistakes can make the process much smoother. One common error is using the wrong fasteners or staples that are not suitable for hardware cloth attachment. Using the correct size and type of fasteners is crucial for a secure and long-lasting attachment. Another mistake is not properly aligning the hardware cloth with the frame, leading to uneven or loose attachment. Additionally, failing to use enough fasteners can result in the cloth sagging or coming loose over time.
To troubleshoot attachment issues, it is important to ensure the hardware cloth is tightly stretched and aligned with the frame before securing it with fasteners. Using screws and fender washers can provide a more secure attachment to the bottom portion of a deck, foundation, or shed. If hiding the fasteners is desired, staples can be used to hold the cloth in place while mounting trim over it. For wood attachment, using a narrow crown stapler at an angle is an efficient method that prevents the cloth from pulling away. By avoiding these common mistakes and implementing effective solutions, you can successfully attach hardware cloth to your desired surfaces and ensure a durable and secure installation. |
Credit: www.almanac.com
Frequently Asked Questions For How To Attach Hardware Cloth
How Do You Connect Hardware Cloth?
To connect hardware cloth, use screws and fender washers for the bottom portion. For a flat surface, use staples to mount the trim. Alternatively, use a narrow crown stapler for wood attachment. U-bolts and galvanized wire work for metal posts.
Remember to bury the cloth to secure it.
How Do You Attach Hardware Cloth To A Frame?
To attach hardware cloth to a frame, use screws and fender washers to secure it to the bottom portion. For a flat surface, staple the cloth to the trim. Another method is using a narrow crown stapler at an angle to prevent pulling away from the wood.
What Staples Do You Use For Hardware Cloth?
To attach hardware cloth, use staples made specifically for it. You can use a narrow crown stapler to insert the staples into the wood at an angle, providing a strong hold. This prevents the hardware cloth from pulling away.
How Do You Attach Hardware Cloth To Foundation?
To attach hardware cloth to a foundation, use screws and fender washers to secure it to the bottom portion. You can also use staples to keep a flat surface for mounting trim. Another method is using a narrow crown stapler to insert staples at an angle into the wood.
How Do You Connect Hardware Cloth?
To connect hardware cloth, you can use screws and fender washers or staples to affix it securely to your chosen surface.
Conclusion
Attaching hardware cloth is an essential step in securing your chicken coop or other structures. There are several methods you can use, such as screws and fender washers or staples. Using a narrow crown stapler provides a quick and efficient option that ensures a strong hold.
Remember to choose high-quality hardware cloth and carefully follow the instructions for a secure installation. By attaching hardware cloth properly, you can protect your animals and keep unwanted predators out.
As an Amazon Associate I earn from qualifying purchases.


