


As an Amazon Associate I earn from qualifying purchases.
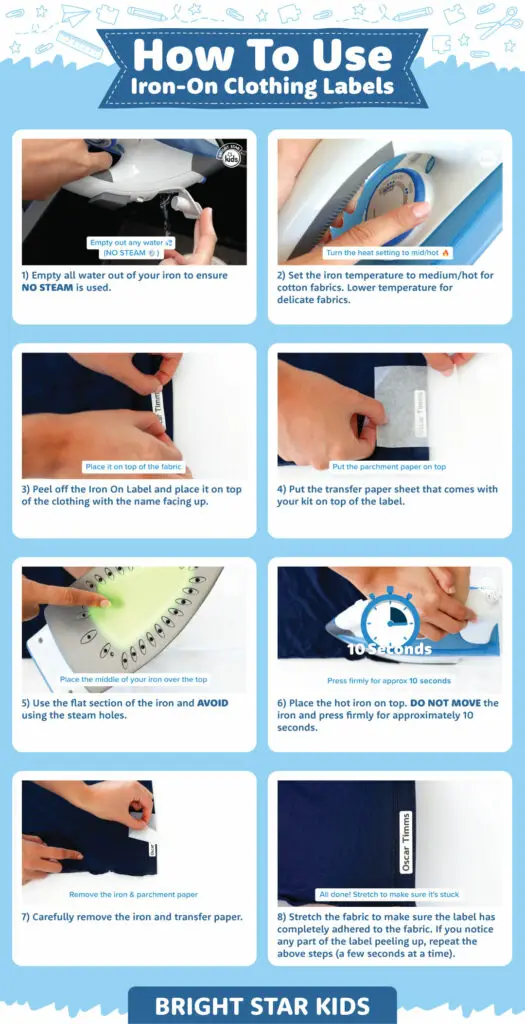
To iron labels on clothes, first set your iron to the recommended fabric setting. Place the label on the garment, cover it with a pressing cloth, and apply firm pressure with the iron for 8-15 seconds.
Ironing labels onto your clothes can be an essential part of keeping your wardrobe organized and maintaining a professional appearance. Personalized labels are ideal for children’s uniforms, care homes, and branding for businesses. Applying them correctly ensures that they stay in place and remain legible over time.
Whether you’re a parent preparing for the back-to-school rush or a craft enthusiast looking to add a personal touch to handmade items, knowing the right technique is key. This process typically involves a standard home iron and some preparation to protect both the label and the garment. With just a few simple steps, you can easily and securely affix labels to any fabric, ensuring they withstand wear and laundry cycles.
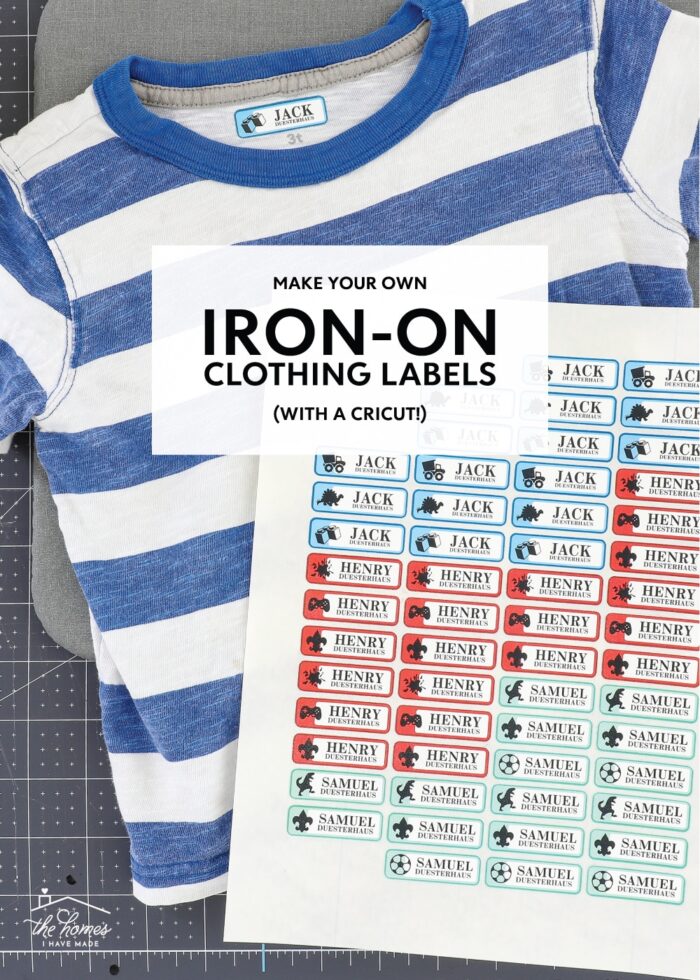
Credit: thehomesihavemade.com
Essential Items For Iron-on Labels
Choosing the Right Labels is crucial for top results. Only use labels made for ironing. Labels should be fade-resistant and durable to last through washes. Opt for customizable labels for unique clothes identification.
Setting Up Your Ironing Station requires attention. Start with a flat, heat-resistant surface. A sturdy ironing board is best. Ensure your iron is clean to avoid stains. Preheat the iron to the label’s recommended setting, usually a cotton setting. Have thin cloth or parchment paper ready to protect clothes from direct heat.
Preparing Your Garments
Ensure your clothes are clean before you begin the iron-on process. Dirt or stains can affect the adhesion of the label, leading to a poor outcome. After washing, let the fabric completely dry. Dry fabrics will allow labels to stick better and ensure a neat finish.
Next, smooth out any wrinkles where you’ll place the label. Wrinkles may cause uneven application. Lay the garment on a flat, heat-resistant surface. Place the label in the desired position, making sure it’s straight. Cover it with parchment paper to protect it from direct heat.
Ironing Techniques For Perfect Adhesion
Understanding the correct heat setting for various fabrics is crucial. Cotton and linen require a high heat setting, usually between 150-204°C (300-400°F). For synthetics like polyester, a medium heat setting of 110-150°C (230-300°F) is ideal to prevent damage. Delicate fabrics such as silk need a low heat setting, about 110°C (230°F) or less. Wool also requires a low setting to avoid scorching.
For safe and effective label adhesion, position the iron onto the label and apply firm pressure. Hold it in place for 10-15 seconds without moving to bond the label properly. Lift the iron and allow the label to cool. Repeat if necessary to ensure the label is fully adhered. Use a pressing cloth for extra protection on delicate items.
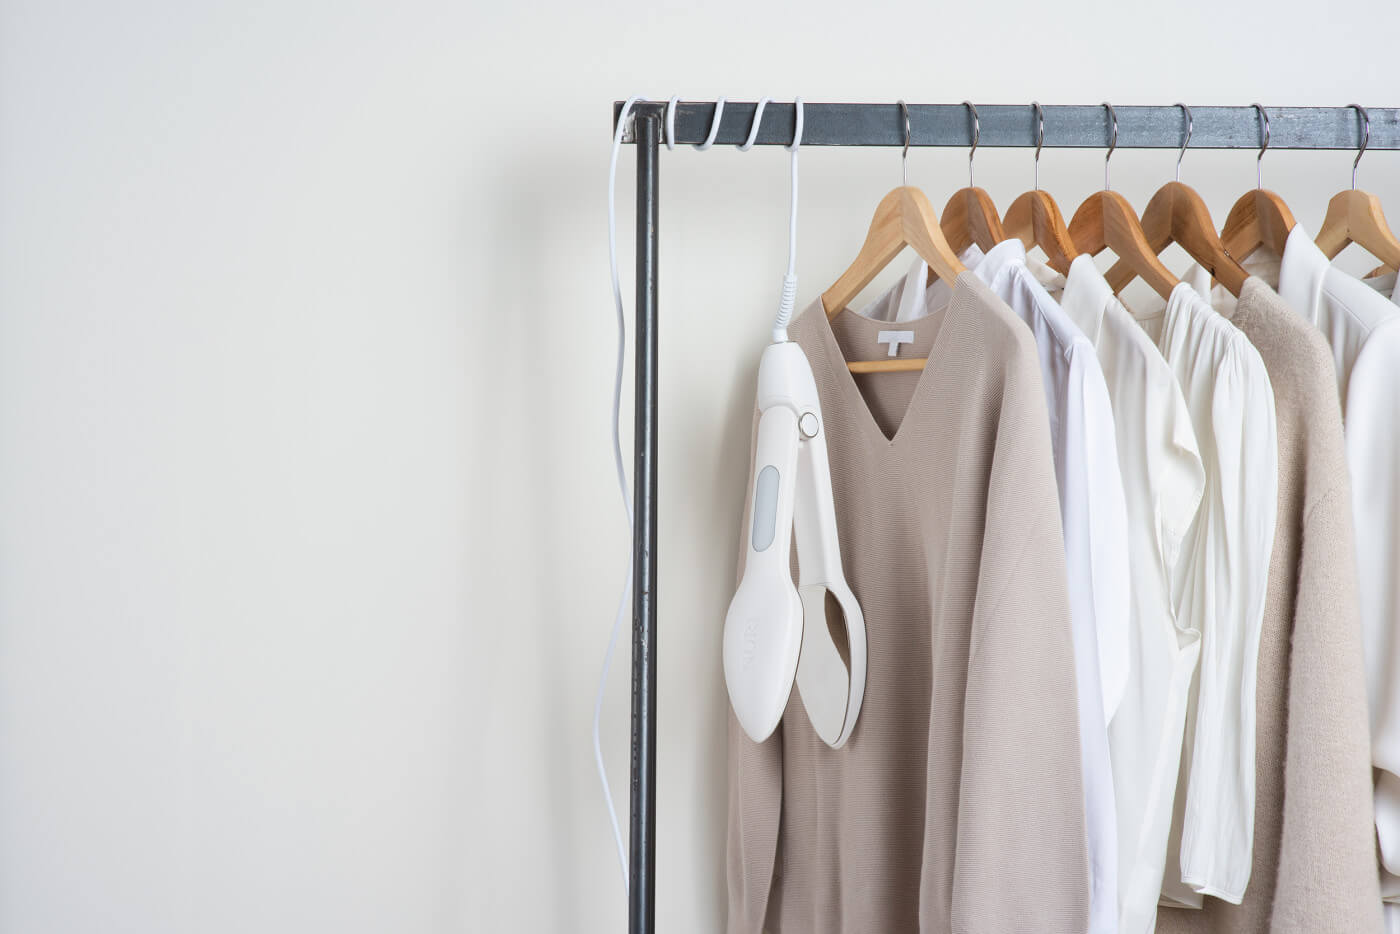
Credit: nori.co
Post-ironing Care
After ironing the labels on your clothes, patience is key. Give them time to cool off. This step helps the adhesive set properly. Touch them lightly to ensure they’re not too hot. Moving or folding the garment could cause the label to shift.
Testing the label’s security is crucial. Wait for a few minutes after cooling. Gently tug at the edges of the label. Doing this confirms it’s stuck well. If corners lift or the label feels loose, re-iron it carefully.
Troubleshooting Common Issues
Peeling corners can be frustrating when ironing labels on clothes. Make sure to press firmly and evenly without moving the iron. It ensures that all edges stick properly. If the corners still peel, try using parchment paper over the label. Then iron over it to secure the adhesive. Be patient and apply heat with gentle pressure for the best result.
Heat damage to fabric is a risk when ironing on labels. Always use the correct temperature for the fabric type. Use a protective cloth or parchment paper between the iron and the label. This method will protect the fabric from too much heat. If damage occurs, cool the area quickly with water. It will minimize the damage. Remember, some fabrics are too delicate for hot irons. Read the care label on your garment first.
Creative Uses For Iron-on Labels
Iron-on labels are not just for keeping track of your clothes. They offer a fun way to personalize your wardrobe. With these handy custom tags, your style speaks for you even before you do. Let’s explore the creative side of them.
Breathe new life into old garments by adding vibrant labels. Iron a quirky catchphrase onto a tee. Or maybe a favorite quote on a hoodie. This DIY makeover sets your clothes apart. Create an exclusive look that’s uniquely yours.
Organizing clothes becomes a breeze with iron-on label tags. Keep your family’s wardrobe sorted. Match label colors with garment types. Or use symbols for whom they belong to. This visual cue system simplifies finding outfits, especially on busy mornings.
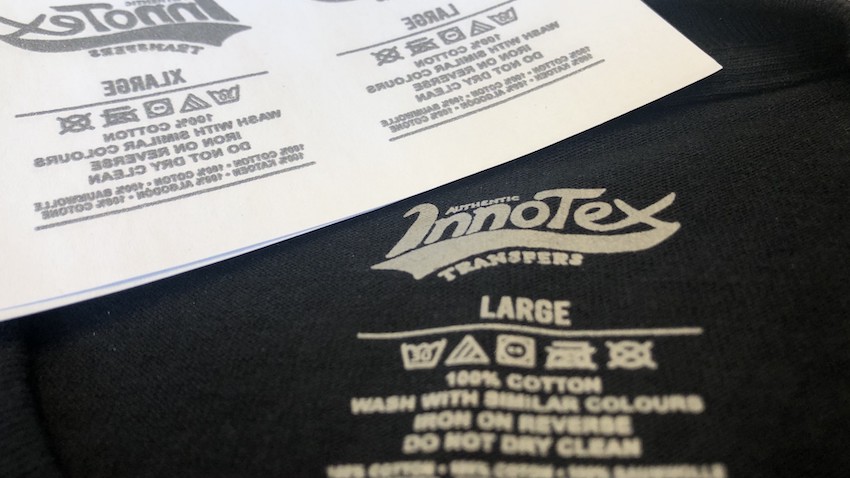
Credit: innotextransfers.com
Frequently Asked Questions Of How To Iron Labels On Clothes
How Do You Iron-on Clothing Labels?
Preheat your iron to the cotton setting. Place the label on the garment. Cover with parchment paper. Press the iron down firmly for 15 seconds. Let it cool before checking the adhesion.
How Do You Iron A Sticker On Clothes?
Place the sticker on the garment where you desire it. Cover it with a thin cloth to protect the design. Set the iron to a medium-high heat setting. Press the iron firmly over the cloth for 15-30 seconds. Peel off backing if required once the garment cools.
How Do You Make Labels Stick To Fabric?
Choose labels with adhesive backing for fabric application. Ensure the fabric surface is clean and dry before attaching. Press down firmly on the label for strong adhesion. Consider iron-on labels for long-lasting stickiness. Follow the label’s application instructions for best results.
How Do You Put Labels On Clothes?
Choose the appropriate label for your clothing item. Place it on the garment’s desired spot. Use a sewing machine or needle and thread to secure it by stitching along the edges. For iron-on labels, press the label with a hot iron to adhere it to the fabric.
Follow the label’s specific instructions for best results.
What Temperature To Iron On Labels?
Use a medium-high heat setting on your iron when attaching labels to clothes. Ensure that the iron is not too hot to prevent damage.
Conclusion
Mastering the art of ironing labels onto clothes can elevate the professionalism of your crafts or the organization of your wardrobe. Remember, choose the right labels, preheat the iron, place them carefully, and apply even pressure. Your clothes will thank you with lasting, neat labels that withstand the test of time and laundry.
Happy ironing!
As an Amazon Associate I earn from qualifying purchases.


